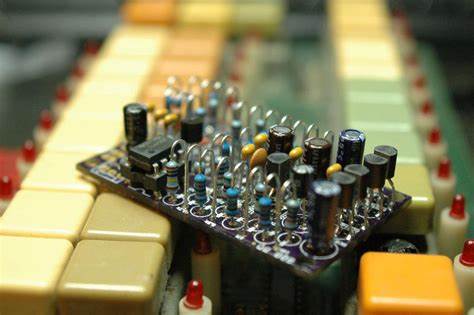
Cloning an existing PCB Board
Cloning an existing PCB Board (Printed Circuit Board) involves replicating the PCB board’s layout, components, and connections. Here’s a step-by-step guide on how to clone a PCB board:

- Documentation:
- Schematic: Obtain or create a detailed schematic diagram of the original existing PCB Board. This diagram should show all components, their connections, and any specific design considerations.
- Component List: Create a list of all components used on the original existing PCB Board, including their part numbers, values, and footprints.
- Component Acquisition:
- Procure Components: Purchase or gather all the necessary components listed in your documentation. Ensure they match the specifications of the original components.
- Verify Compatibility: Check for any updated or equivalent components if the original ones are no longer available.
- PCB Design:
- PCB Layout Software: Use PCB design software to recreate the layout of the original PCB based on the schematic and component list.
- Component Placement: Arrange components on the new PCB layout according to the existing printed circuit board’s configuration. Pay attention to spacing, orientation, and signal paths.
- Trace Routing:
- Routing Connections: Use the PCB design software to route traces (copper pathways) to connect components based on the schematic. Follow the original routing as closely as possible.
- Signal Integrity: Ensure signal integrity by following best practices for trace width, impedance matching, and avoiding signal interference.
- Manufacturing:
- Generate Gerber Files: Export Gerber files from the PCB design software. These files contain information about the PCB layers, traces, and component placement.
- Prototype Production: Send the Gerber files to a PCB manufacturing service or use PCB prototyping equipment to create the cloned PCB.
- Assembly:
- Component Placement: Populate the new PCB with components according to the component list and placement from your documentation.
- Soldering: Solder components onto the PCB, ensuring proper connections and avoiding solder bridges or cold joints.
- Testing and Debugging:
- Functional Testing: Power up the cloned PCB and perform functional tests to ensure it operates as expected.
- Signal Testing: Use oscilloscopes, multimeters, and other test equipment to verify signal integrity, voltage levels, and component functionality.
- Debugging: Address any issues or discrepancies found during testing, such as incorrect connections, faulty components, or design errors.
- Verification:
- Compare Performance: Compare the performance of the cloned PCB with the original board to ensure they function identically under the same conditions.
- Quality Assurance: Conduct quality assurance checks to confirm that the cloned PCB meets the required specifications and standards.
- Documentation and Compliance:
- Documentation Update: Update your documentation to include details about the cloned PCB, such as revision history, modifications, and any deviations from the original design.
- Compliance: Ensure the cloned PCB complies with relevant regulations, standards, and intellectual property rights.

